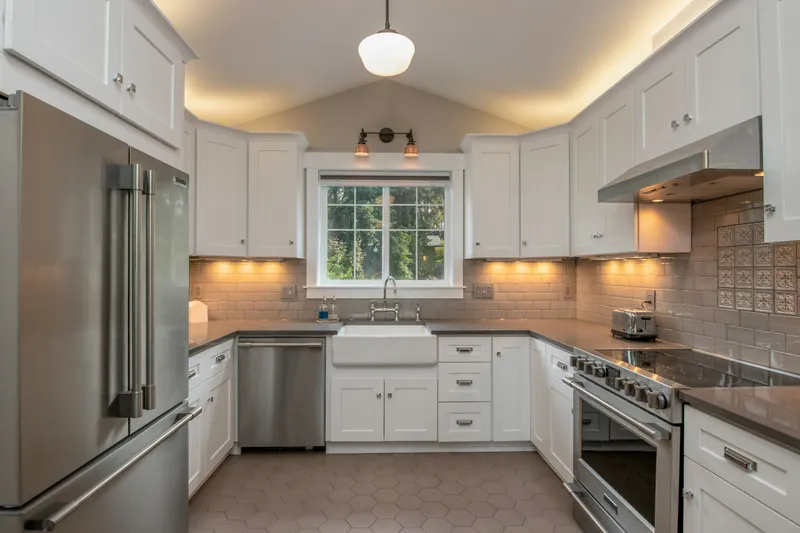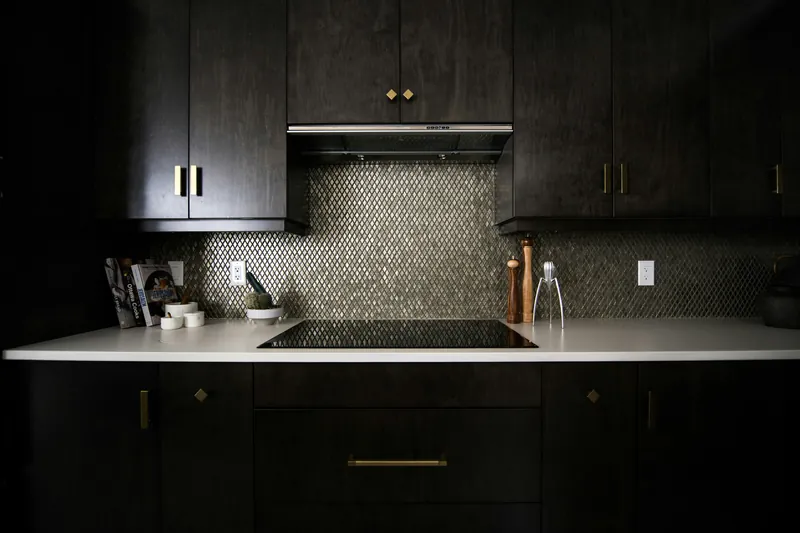
A backsplash is a small area with a lot of edges: outlets, window returns, the end of a run, the underside of a cabinet, the join to the counter. Almost all backsplash failures are edge failures rather than field failures.
It is also the fastest visible change available in a kitchen. Two to three days on site, under $5,000 in most kitchens, and it changes the whole room’s character.
How much does a kitchen backsplash cost?
A kitchen backsplash costs $1,800 to $4,200 installed in Vancouver for a typical 30 to 45 square foot area. Simple subway tile in a straight bond sits at the bottom; handmade zellige, mosaic sheets or a herringbone pattern sits at the top because the setting labour roughly doubles.
| Material / pattern | Installed (CAD/sq ft) | Difficulty | Notes |
|---|---|---|---|
| Ceramic subway, straight bond | $28 – $45 | Standard | The dependable default |
| Subway in herringbone or stack | $40 – $65 | Higher | Pattern doubles the setting time |
| Porcelain large format | $45 – $75 | Higher | Fewer grout lines; substrate must be flat |
| Zellige / handmade | $60 – $110 | High | Irregular by design; needs a tiler who understands it |
| Glass mosaic sheets | $50 – $90 | High | Adhesive shows through; needs white thinset |
| Natural stone tile | $55 – $100 | High | Must be sealed; marble will etch |
| Full-height stone slab | $110 – $220 | Fabricated | Seamless; matches the countertop |
| Glass splashback (single pane) | $85 – $160 | Fabricated | Templated; no grout at all |
What decides whether a backsplash looks professional
Four things: a flat substrate, a laser-set first course, consistent grout joints, and how the edges are terminated. The tile itself has almost nothing to do with it — the same subway tile can look excellent or amateur depending entirely on these.
- Substrate skimmed flat before tiling — a wavy wall telegraphs through large-format tile immediately
- First course set from a laser line, not from the countertop, which is rarely dead level over its length
- Consistent joint width using spacers sized to the tile, not by eye
- Outlets planned into the layout so cuts fall symmetrically, and box extenders fitted so plates sit flush on the tile
- Edges finished with a metal trim, a bullnose or a mitre — never a bead of silicone over a raw cut edge
- Flexible silicone, not grout, at the counter junction: that joint moves and grout there always cracks
How high should a backsplash go?
Standard is to the underside of the wall cabinets, typically 450 to 600 mm above the counter. Behind a range with no cabinet above it, take it to the hood or to the ceiling — a splashback that stops at 600 mm behind a range reads as unfinished and does not protect the wall that gets dirtiest.
Full-height stone slab behind the range, matching the countertop, has become the detail that most reads as current. It is also easier to clean than tile, having no grout at all, which behind a gas hob is a genuine practical advantage.
In a kitchen with open shelving rather than wall cabinets, tile to the ceiling. Stopping at an arbitrary height on an open wall never looks deliberate.
Grout: the decision people regret
Cement grout is porous. Behind a hob it absorbs oil and behind a sink it absorbs water, and within two years a white cement grout in a working kitchen is grey and does not come back.
Epoxy grout solves it. It is non-porous, stain-proof and does not need sealing. It costs $200 to $500 more across a kitchen and takes longer to install because it sets fast and must be worked cleanly. On a kitchen backsplash it is worth every cent and we recommend it by default.
On grout colour: matching the tile makes the surface read as one plane, contrasting emphasises the pattern. Mid-grey is the pragmatic choice in a kitchen — it does not show what white shows and does not read as heavy as charcoal.
Replacing a backsplash on its own
Common and straightforward: two to three days, and the kitchen stays usable throughout apart from the counter directly below the work.
The one thing to expect is drywall damage. Removing old tile — especially older tile bedded in a thick mortar — takes some of the wall face with it, so the substrate is repaired and skimmed before the new tile goes on. That is included in our quotes rather than appearing as an extra.
If you are also replacing the countertop, do both together. Removing a counter damages the tile immediately above it anyway. See countertop installation.